Google Web Designer Banners. Mediasniper Requirements
How to create HTML banner with Google Web Designer
To create ad banner in the program Google Web Designer you should perform the following steps:
- Launch the Google Web Designer program;
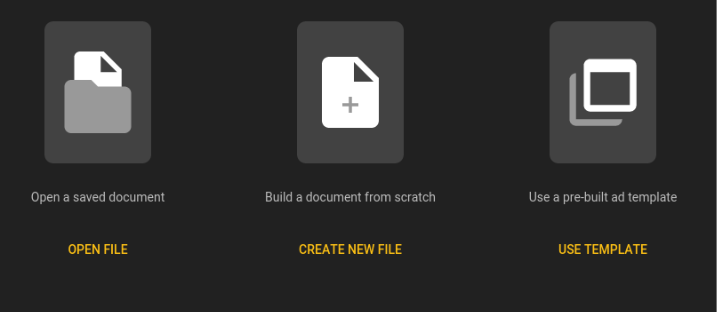
- Select Create new file in the window that appears;
- In the next window in the section Ads, in the list, select banner type Banner, fill in the Name field, according to the requirements in the section General Requirements. Besides you should select banner size in the drop-down list Dimensions
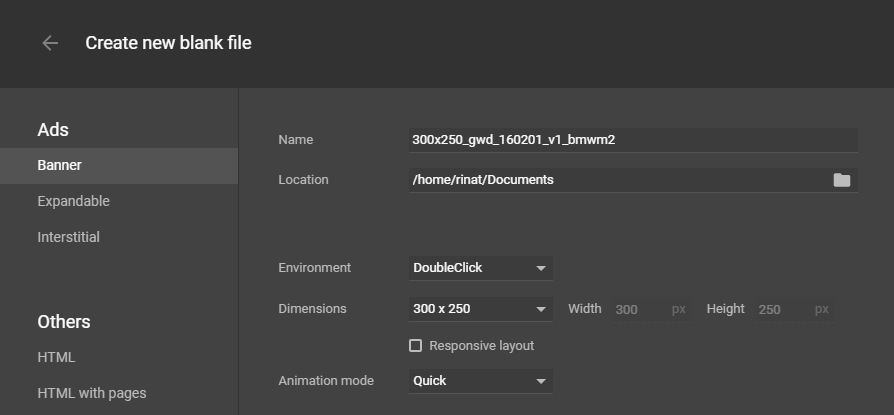
- Press the ОК buton
- Add the required banner content according to the design
To add the possibility to click on the banner you should perform the following steps:
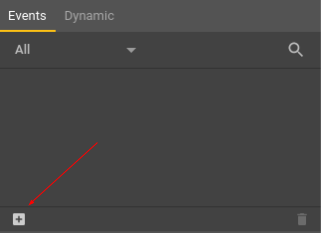
- Press on the new event adding image in the Events section;
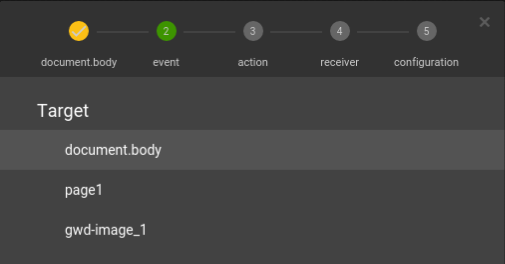
- Select document.body in the window that appears in the Target section
- Select Mouse, and then Click in the Event section
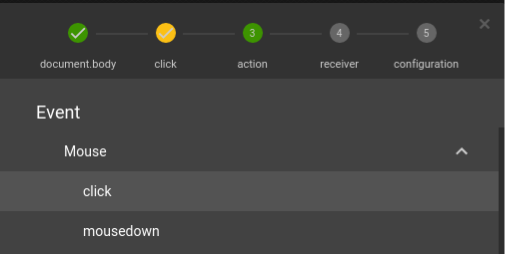
- Select Google Ad, then - Exit Ad in the Action section
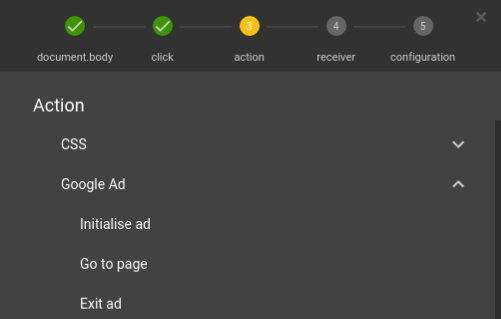
- Select gwd-ad in the Receiver section

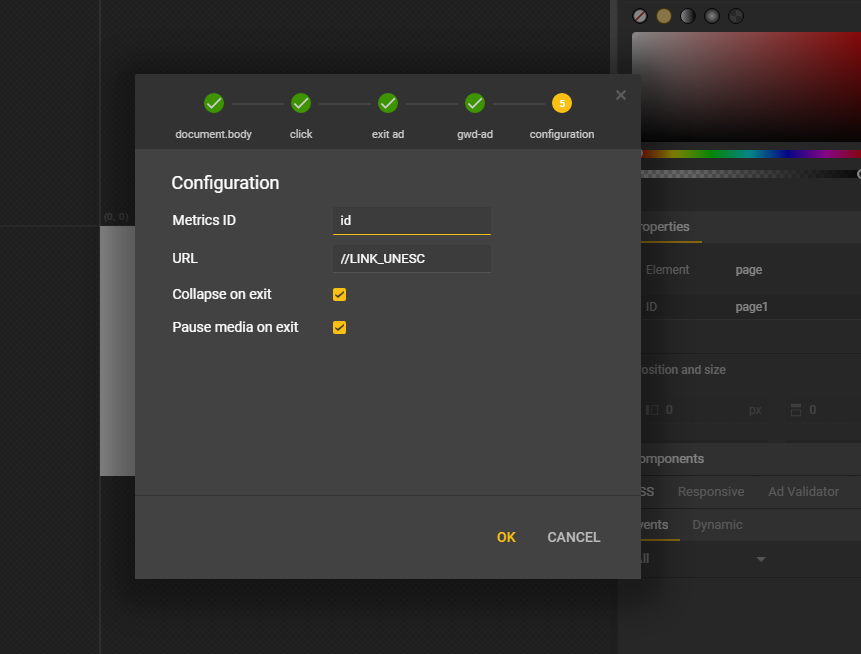
- Fill in the fields Values' Identification, URL in the Configuration section, and select checkboxes Collapse on exit, Pause media on exit. Then press ОК button.
URL field contentURL field should be filled in with the value //LINK_UNESC. See screenshot below.
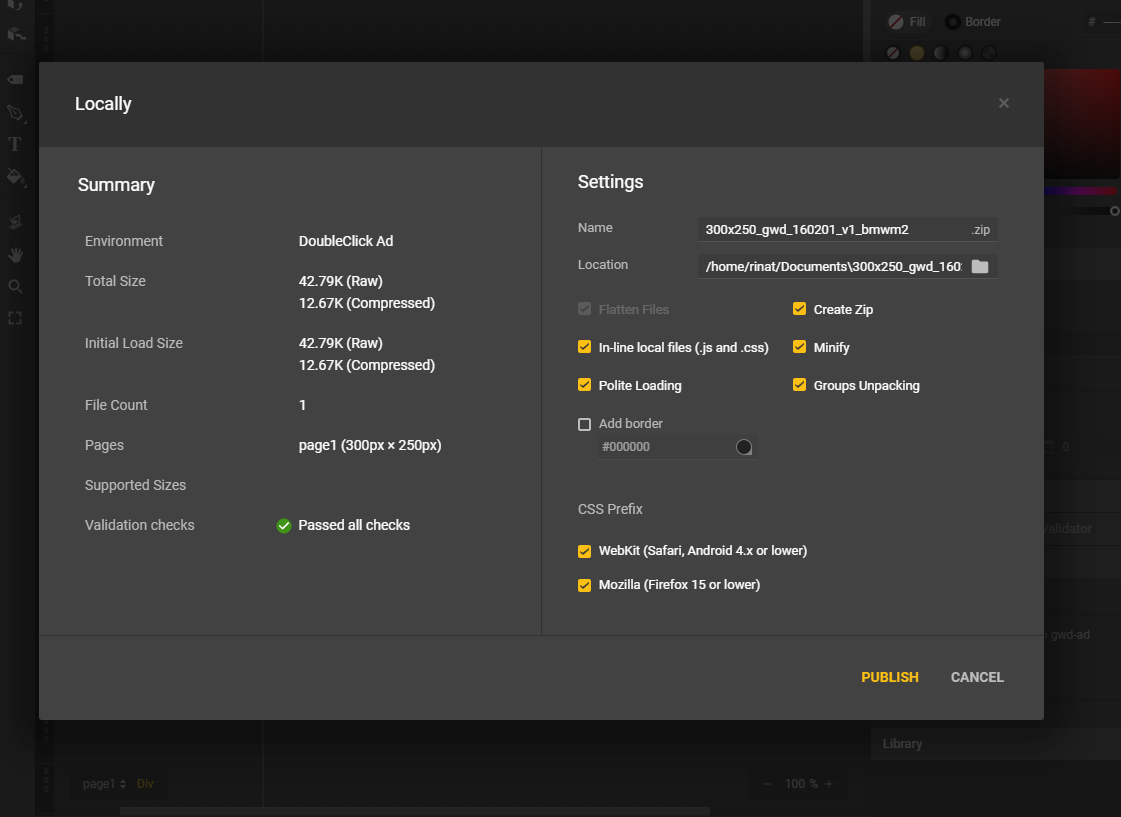
- To publish a banner you should press on Publish button and select Publish locally in the drop-down list.
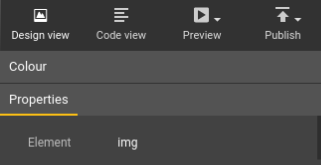
- In the window that appears leave everything unchanged and press on the Publish button.
- Submit all files generated by this program in the zip archive according to the requirements specified in the General Requirements section at the beginning of the present Manual.
Updated 4 months ago
